type
status
date
category
slug
summary
Pinterest Topic
Pin Title
Pinterest Tag
Facebook Post
Latest Pin Date
Latest Pin No.
Pin Image
Total Pin Images
All Pins Posted
All Pin Images Created
tags
icon
password
comment
humanize
Ever walk into your kitchen, grab a mug for coffee, and just… pause? Stare at your counters and think, “Ugh, why does this feel like it’s stuck in 2005—and not the fun, retro 2005 with butterfly clips and Destiny’s Child?” Yeah, I’ve been there. My sister had that exact problem last year—she wanted new counters, but the contractor quoted her $5k. Half her monthly rent, basically. She just sighed and lived with her old, stained ones for another six months.
But here’s the thing: You don’t need to drain your savings or hire a pro to fix this. DIY kitchen countertops? They’re not just “possible”—they’re actually easy. Like, “I once messed up hanging a towel rack and still pulled this off” easy. And they look good—way better than you’d think. I’ve seen friends turn sad, outdated counters into something they post on Instagram. No fancy skills required. Just a little patience, some basic tools, and the guts to try.
Grab your gloves (or just your coffee—let’s be real, motivation first), channel that inner “I can do this” vibe, and let’s make counters you’ll actually smile at when you grab that morning cereal. Let’s jump in!
1. The Magic of Concrete: Smooth and Modern
Concrete countertops? I know what you’re thinking—“That’s for people who build sheds or flip houses, right?” I thought the same thing until my buddy Mike did it. Dude can barely hang a picture straight (he once put a nail through a power cord—don’t ask), and his concrete counters look like they’re from a downtown loft. Total “I made that” bragging rights.
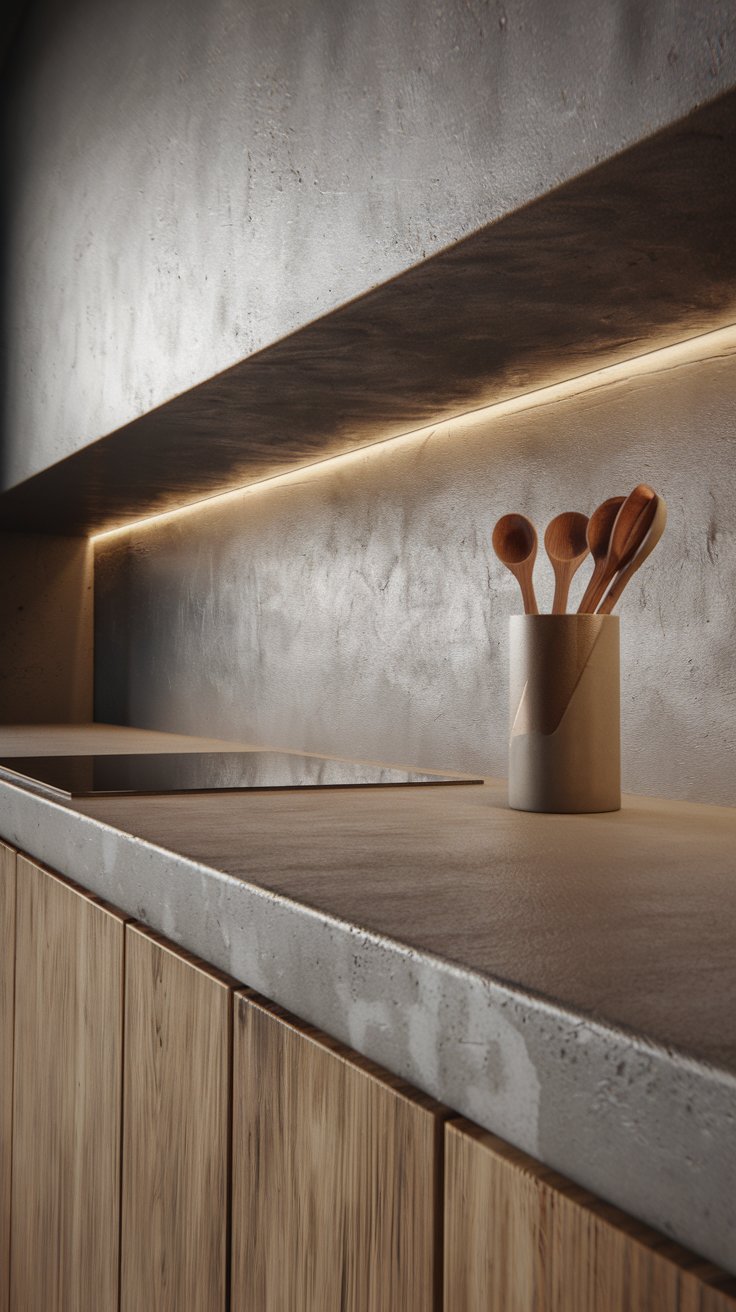
Why it’s easy: You don’t have to mix concrete from scratch—pre-mixed countertop mixes are a thing! Just pour it into a mold (you can make one with melamine boards—those cheap, smooth ones from Home Depot that feel like plastic), let it harden (they call that “curing”—just fancy for “leave it alone for a few days”), sand it until it’s smooth, and seal it. No fancy tools. Mike used a regular sanding block—nothing special. He still texts me photos of it, like, “Look how it holds my cast iron!”
Impressiveness factor: Concrete is tough as nails. You can set a hot pan on it and not panic (no more scrambling for coasters when you forget to turn off the stove). And it’s customizable—Mike added a little navy pigment to his, and it looks like storm clouds in the best way. No two concrete counters are the same, either—yours will be one-of-a-kind.
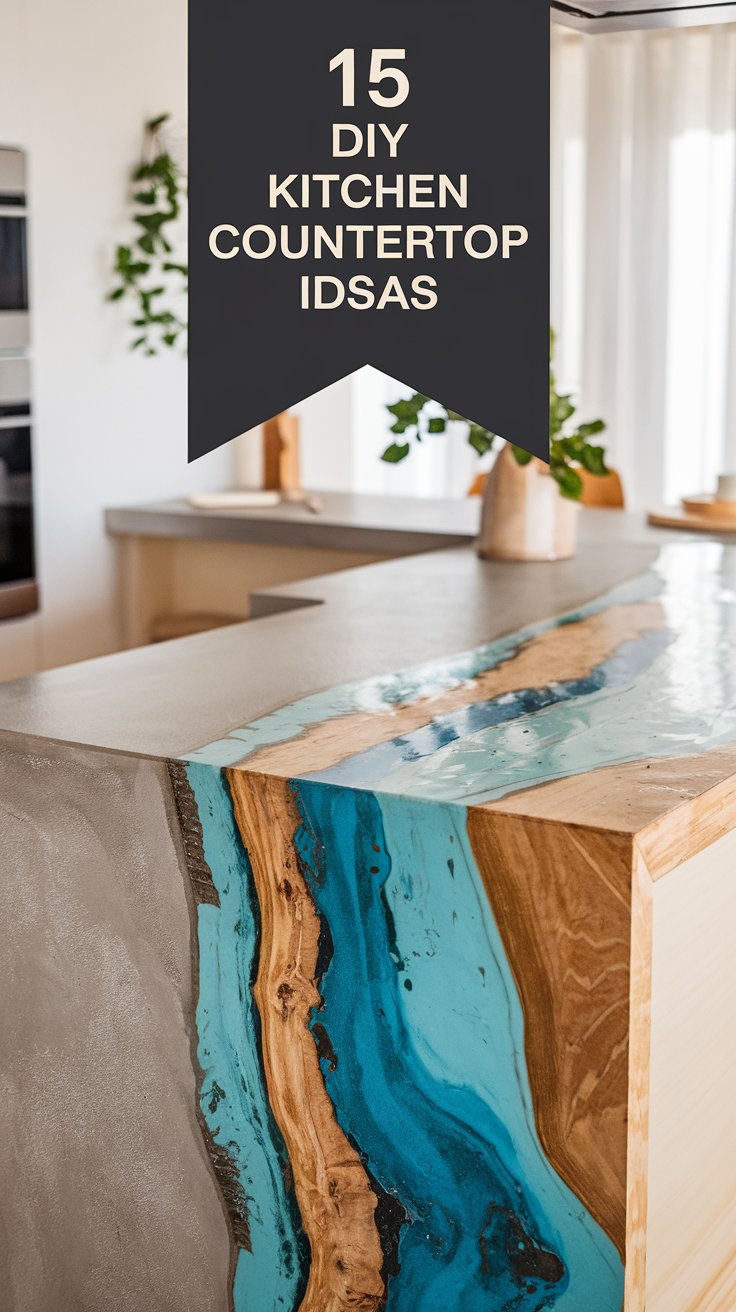
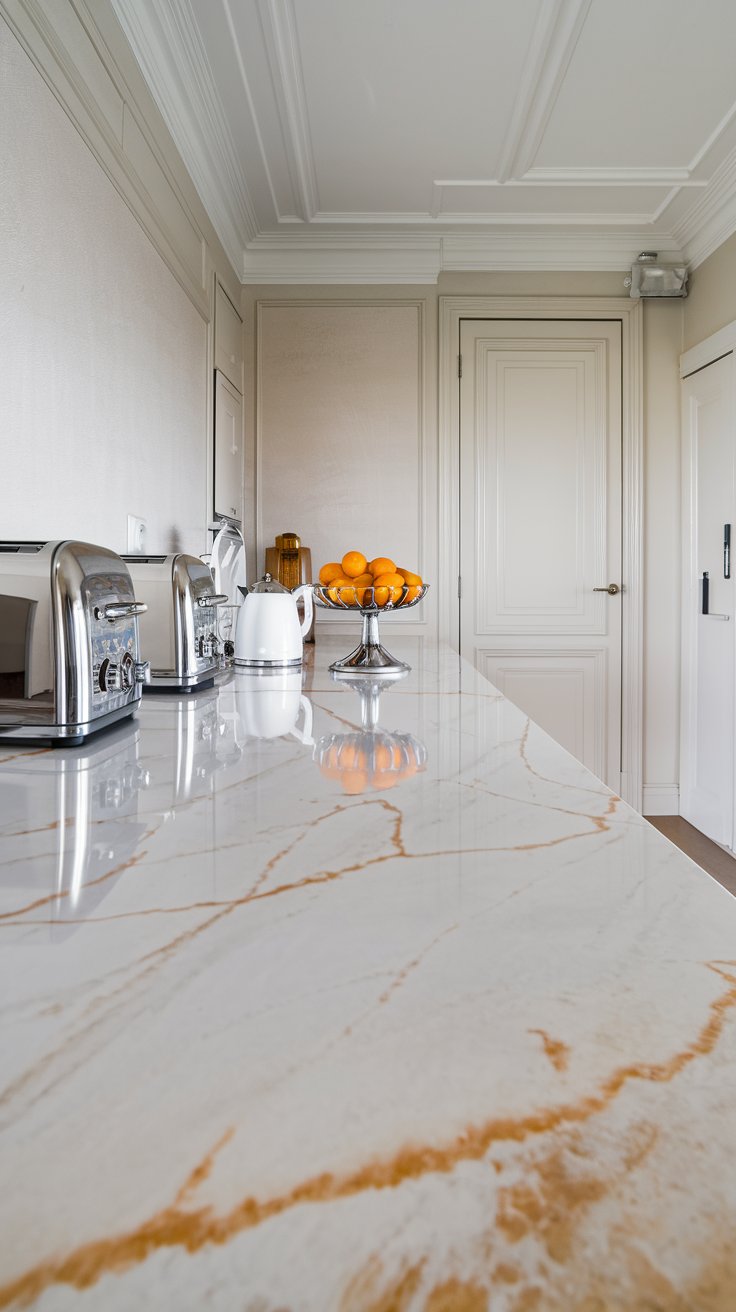
2. Epoxy Resin Glam: High-Shine and Durable
Want counters that look like they belong in a kitchen magazine? The kind where you half-expect a food stylist to pop out with a bowl of fresh berries? Epoxy resin is your secret weapon. It’s that glossy, smooth stuff that turns “meh” surfaces into “whoa, did you hire someone?” showstoppers.
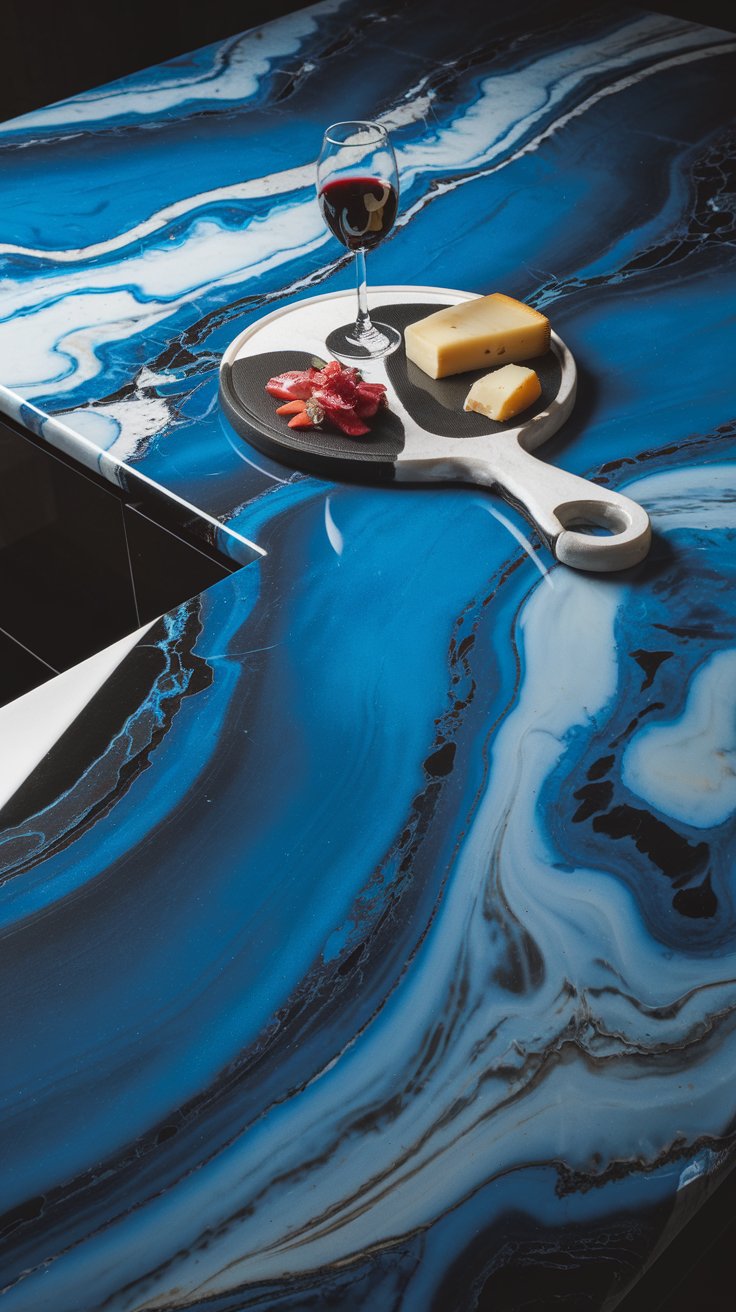
Why it’s easy: Epoxy kits are made for newbies—my cousin Sarah used one, and she’s the type who burns toast and forgets to water her succulents. Just mix the resin and hardener (follow the directions—don’t skip this step. She almost did, and I had to Google “epoxy not hardening” at 9 PM. Spoiler: You gotta mix slow and even), pour it over your existing counters (or a new base), and let it do its thing. It self-levels, so you don’t have to worry about lumps or uneven spots. Her counters look like marble, and she did it in a Saturday afternoon.
Impressiveness factor: The finish is seamless—no grout lines, no gaps, just one smooth surface. And it’s non-porous—spill coffee or tomato sauce? Wipe it off with a paper towel, and it’s gone. Sarah added a little white pigment and swirled it with a toothpick to make the marble look real. Her mom came over and said, “This must have cost a fortune!” She just smiled and said, “Nope—$80 at the hardware store.”
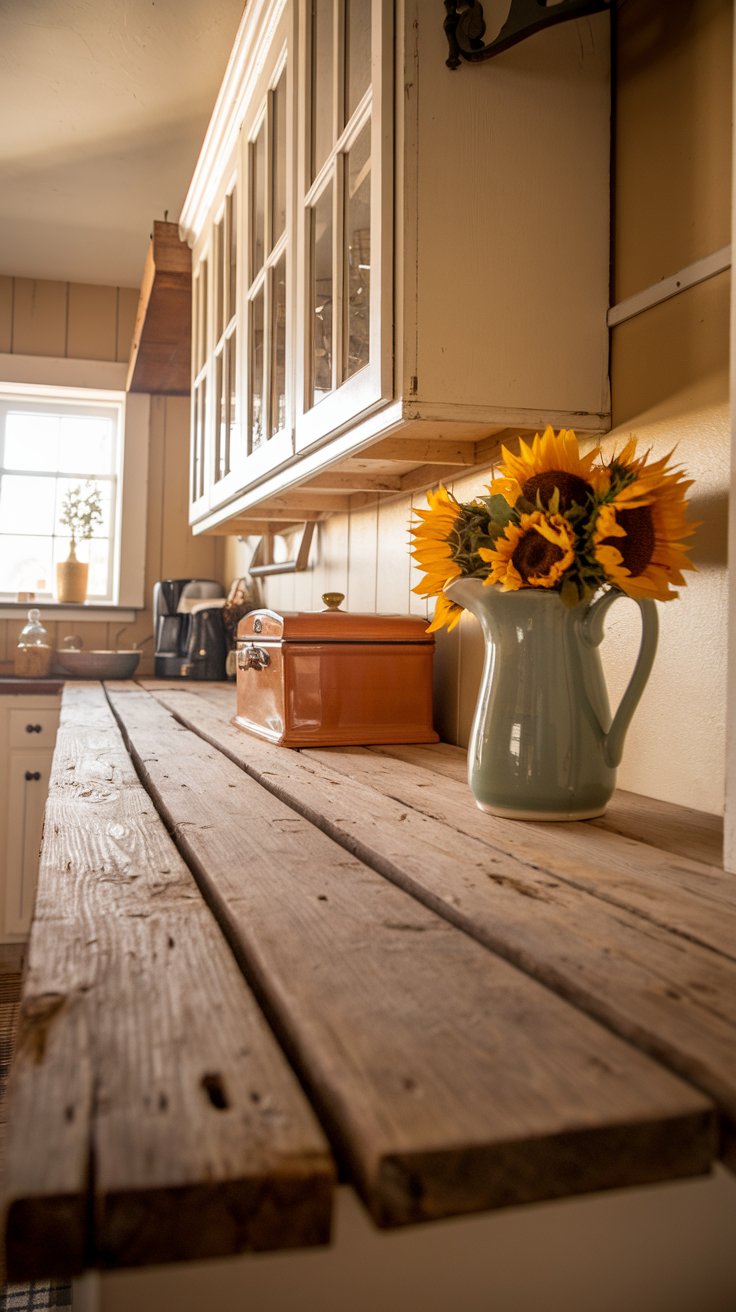
3. Butcher Block Beauty: Warm and Inviting
If you want a kitchen that feels like a hug—like, the kind of kitchen where you’d hang out with your mom while she bakes cookies—butcher block is it. That natural wood grain? It adds so much warmth, you’ll forget your kitchen used to feel cold and outdated. And it’s not just pretty—it’s useful.
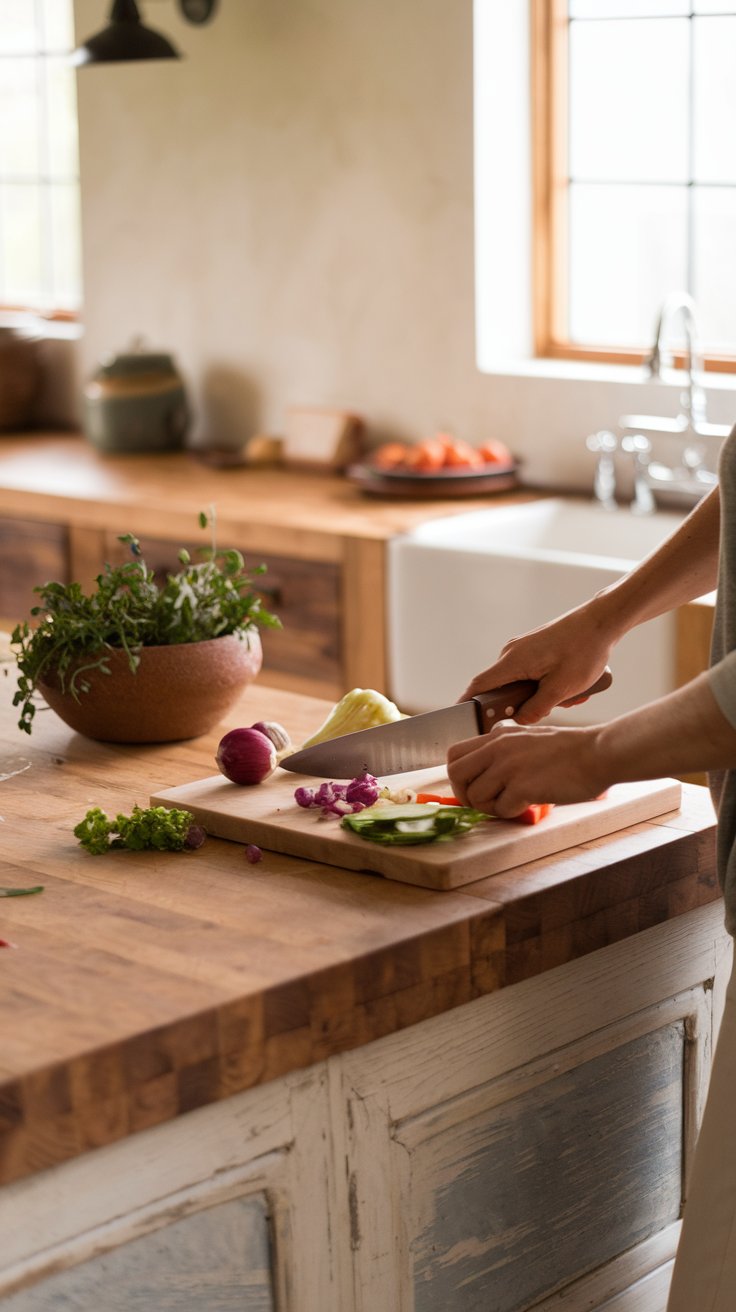
Why it’s easy: You don’t have to build it from scratch. Pre-made butcher block pieces come in standard sizes—just cut them to fit your counters (a circular saw works, but even a handsaw will do if you’re patient—my mom used a handsaw, and she’s 65). Sand them until they’re smooth (no splinters!), then seal them with food-safe oil. It’s like woodworking for grownups—no complicated joints, no fancy skills. My mom did hers in a weekend, and she kept saying, “This is easier than I thought!”
Impressiveness factor: It’s functional and pretty. You can chop veggies right on the counter—no need for a cutting board (save that drawer space!). Over time, it develops a “patina”—that soft, worn look that makes it feel like it’s been in your family forever. My mom’s has little marks from where she’s set hot pans or spilled olive oil, and it just makes the kitchen feel lived-in. Every time I visit, I think, “Why don’t I have this?” It’s like a warm blanket for your counters.
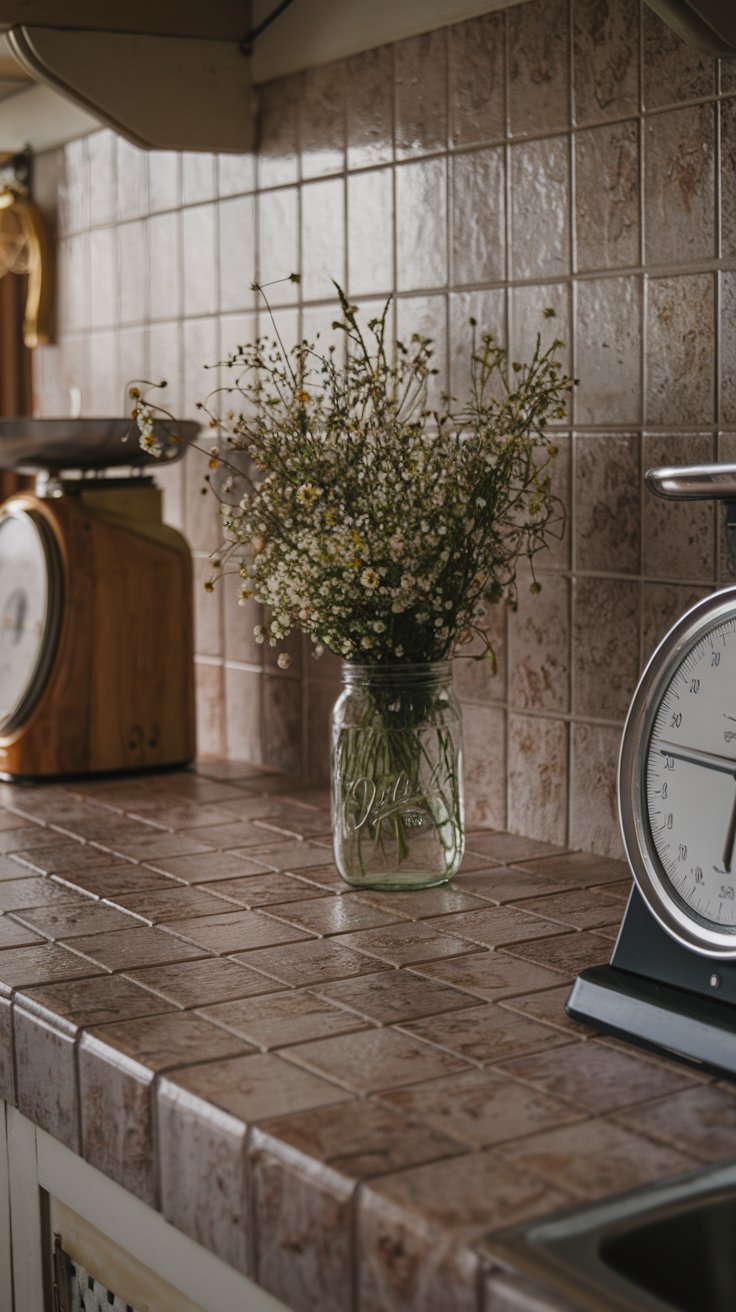
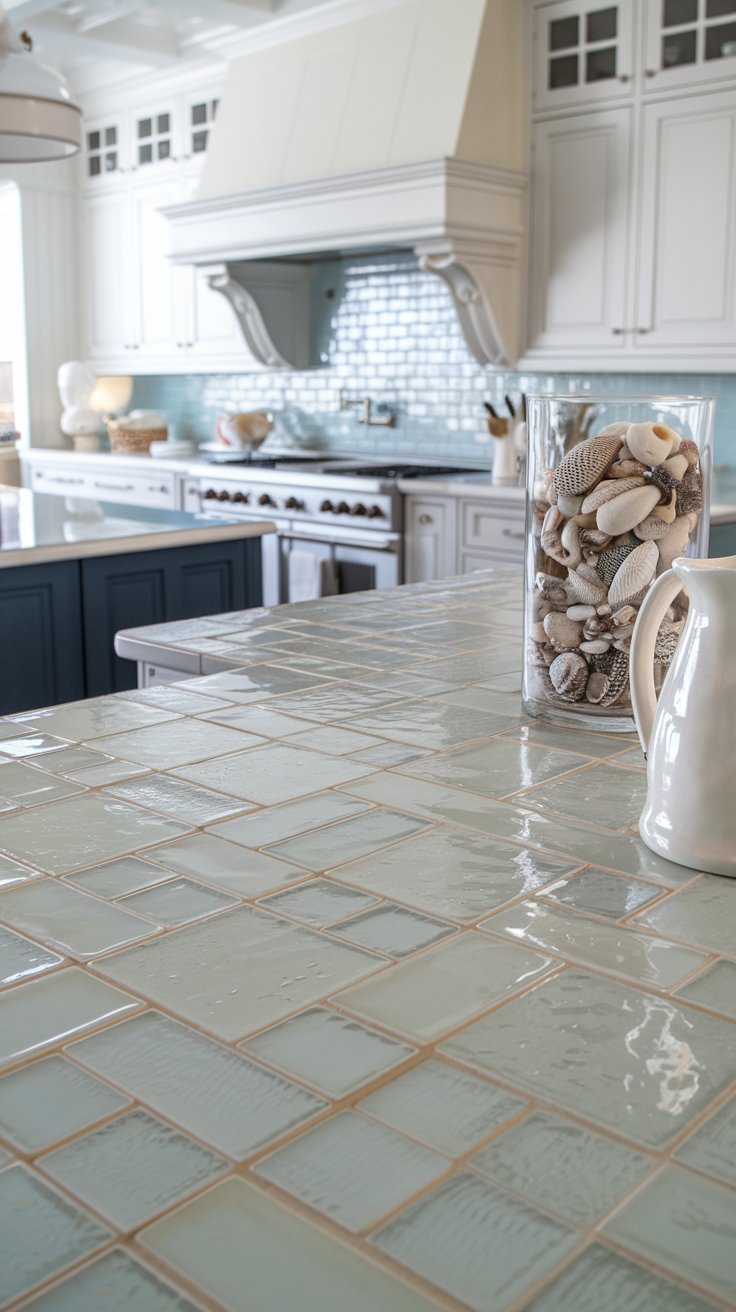
4. Tile Transformation: Budget-Friendly and Versatile
Tile counters are a classic for a reason. They’re cheap, they come in a million styles, and they’re so easy to install, even I didn’t mess it up too bad. I did tile counters in my first apartment—tiny kitchen, ugly linoleum counters—and it turned that space from “I want to order takeout” to “I want to cook actual meals.”

Why it’s easy: Tiling is a beginner-friendly project. Just attach a cement board base (it’s like a sturdy backing—think of it as the foundation for your tiles), spread thin-set mortar (basically tile glue—don’t worry, it’s not messy if you take it slow), stick the tiles down, let it dry, add grout to fill the gaps, and seal it. It takes a little patience—you can’t rush the drying time (I tried once, and a tile slipped. Oops). But the process itself is simple. I messed up a few tiles—broke one when I dropped it—but I just replaced it, and no one can tell.
Impressiveness factor: Tile is tough. It’s water-resistant, so it’s perfect for kitchens (no more panicking if you spill water while washing dishes). And the options? Endless. Want a retro look? Go for 1950s-style mosaic tiles. Want something modern? Subway tiles with dark grout. I went with plain white subway tiles and dark grout—simple, but it made my tiny kitchen feel bigger. Plus, it’s easy to clean—wipe it down with a damp cloth, and you’re done.
5. Laminate Comeback: Stylish and Affordable
Remember when laminate was just that boring beige stuff your grandma had? The kind that felt like plastic and scratched if you looked at it wrong? Yeah, those days are long gone. Modern laminate looks so real—marble, wood, even concrete—and it’s way easier to install than you think.
Why it’s easy: Laminate is lightweight—you can carry it by yourself (no need to ask a friend for help). It cuts easily with a utility knife (just score and snap—like cutting cardboard, but sturdier). A lot of it comes in pre-formed sections, so you just need to fit it to your counters and seal the seams. My neighbor did this, and she finished it in a weekend. She’s not crafty—she once glued her fingers together with super glue—but she pulled it off.
Impressiveness factor: It looks way more expensive than it is. My neighbor used marble-look laminate, and her sister-in-law asked if it was real. “Nope,” she said. “Cost me $100.” The best part? It’s stain-resistant. Spill red wine on it? Wipe it up, and it’s gone. No stress, no scrubbing. She still texts me sometimes, like, “I can’t believe how good this looks for $100.” Same, girl. Same.
6. Peel and Stick Vinyl Tiles: Instant Gratification
If you’re the kind of person who wants results now—like, “I have a free Saturday, and I’m not leaving this house until my counters look better” now—peel and stick vinyl tiles are your new best friend. They’re cheap, easy, and they transform your space in hours. No waiting, no mess, just instant joy.
Why it’s easy: It’s right there in the name—peel and stick. No mortar, no grout, no tools (except maybe a utility knife to cut tiles to size). Just clean your existing counters (make sure they’re dry—wet counters = tiles that fall off), peel off the backing, and stick the tiles down. If you mess up? Just peel it off and try again. My college roommate did this in our rental kitchen—we had counters that looked like they’d been through a war (stains, scratches, even a mysterious sticky spot). She spent $50 on peel-and-stick tiles that look like granite, and suddenly our kitchen didn’t make us want to order pizza every night.
Impressiveness factor: They look way better than you’d think. You can get them to mimic granite, tile, even wood. And they’re water-resistant—perfect for busy kitchens (my roommate spilled pasta water on them once, and no damage). It’s a temporary fix if you’re renting, but honestly? It looks so good, you might keep it even if you own the place. My roommate loved hers so much, she took the tiles with her when she moved.
7. Painted Perfection: Color and Creativity
Don’t sleep on paint. It’s one of the cheapest ways to transform your counters—like, $30 cheap—and with the right products, it’s actually durable. Plus, you can get so creative with it. Want a bold color? Go for it. Want to mimic marble? You can do that too. It’s like giving your counters a personality.
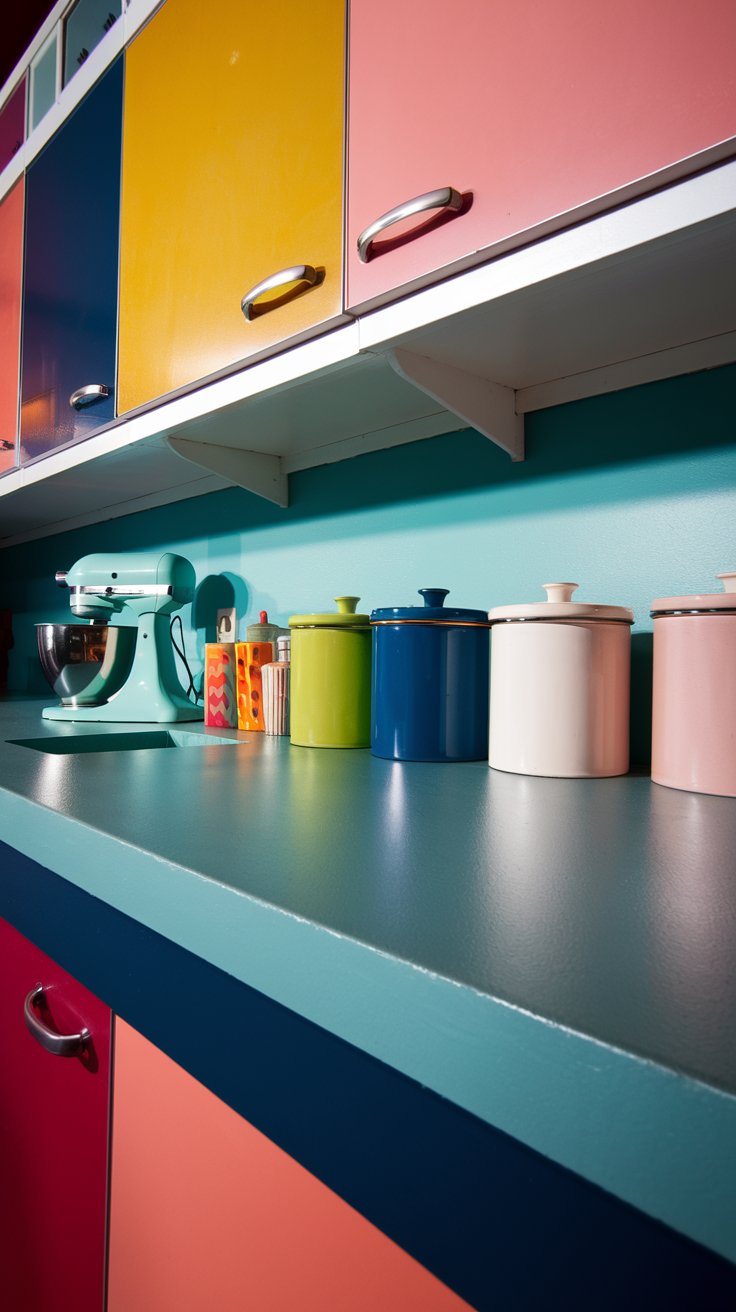
Why it’s easy: The process is straightforward. Clean your counters (use soap and water—get rid of all that grease from cooking bacon), sand them down (this helps the paint stick—don’t skip this step. My neighbor tried to skip it once, and the paint chipped in a week. Oops), apply a primer, then paint with specialized countertop paint. Seal it with a topcoat, and you’re done. I did mine in navy blue last year—used a foam roller for a smooth finish—and it took me two afternoons. No fancy skills, just patience.
Impressiveness factor: The sky’s the limit with color. Want a bold teal? Go for it. Want to mimic marble? Use a sponge and white paint to create veins (I watched a YouTube tutorial—super easy). I saw a kitchen once with counters painted like a sunset—orange, pink, yellow—and it was so fun! It’s a great way to add personality to your space without spending a lot. My navy counters still look good a year later—even after I spilled red wine on them (wipe and go, baby).
8. Contact Paper Countertops: The Budget-Friendly Illusion (Prepare to be Impressed!)
Okay, hear me out—contact paper. I know, I know. It sounds like something your grandma used to line her cookie jar shelves with. The thin, crinkly stuff that peeled off after a month. But modern contact paper? It’s a game-changer. It’s thicker, sturdier, and looks so real, you’ll have to touch it to believe it’s not marble or granite. I used this in my first rental, and I still talk about it.
Why it’s easy: It’s self-adhesive—just clean your counters (dry them well!), cut the paper to size (measure twice, cut once—trust me), peel off the backing, and smooth it down. If you get bubbles, just poke them with a pin and smooth again (I learned that trick from a TikTok). It’s renter-friendly—you can peel it off when you move, and the landlord will never know. And it’s so cheap. I spent $20 on marble contact paper, and it covered my entire counter.
Impressiveness factor: High-quality contact paper looks convincing. The marble patterns have real texture—you can run your finger over them and feel the “veins.” The colors are spot-on, too—no more that fake, neon-white marble look. My guests kept asking where I got the “expensive marble counters.” I lied for a week before admitting it was contact paper. They couldn’t believe it. It’s a temporary fix, but it’s perfect if you’re on a tight budget or renting. Plus, it’s easy to replace if you get bored—swap out marble for wood next year!
9. Pallet Wood Charm: Rustic and Reclaimed
If you love the rustic, farmhouse look—think Magnolia Home, but without the Magnolia price tag—and hate wasting stuff, pallet wood counters are for you. Pallets are usually free (check local grocery stores or farms—they’ll often give them away because they don’t want to haul them), and each piece has its own little marks and stories. It’s eco-friendly and totally unique.
Why it’s easy: You just need to take the pallets apart (wear gloves—there might be nails! My cousin got a splinter once, and he complained for a week), sand the wood until it’s smooth (get rid of all those rough spots—no one wants splinters while making sandwiches), cut it to size, and glue or nail it together. Seal it with a durable sealant to protect it from spills (olive oil is the enemy here). It’s a bit more work than some other projects, but it’s so rewarding. My cousin did this, and every time someone asks about the counters, he tells the story of where he got the pallets (a local apple farm—so cool).
Impressiveness factor: No two pallet wood counters are the same. The knots, the marks, the variations in wood grain—they all add charm. It’s like having a one-of-a-kind piece in your kitchen. And you can feel good about it—you’re giving old wood a new life instead of buying new. My cousin’s counters have little stamps from the farm on them, and it’s such a fun detail. Every time I see them, I think, “That’s way cooler than store-bought.”
10. Reclaimed Wood Revival: Sustainable Style
Similar to pallet wood, but with a little more “history.” Think old barn wood, salvaged lumber, or even bowling alley lanes (yes, really—my uncle saw that once). Reclaimed wood adds so much character to a kitchen—each piece has a story. Like, “This wood used to be part of a barn that was built in 1920.” How cool is that?
Why it’s easy: The process is similar to butcher block or pallet wood. Source the wood (check salvage yards, Facebook Marketplace, or even old barns—just ask permission!), cut it to fit your counters, sand it smooth (don’t over-sand—you want to keep those unique marks), and seal it. The best part? The wood already has that worn, lived-in look—you don’t have to “distress” it with sandpaper or hammer marks. It’s ready to go. My uncle used old barn wood, and he finished it in a weekend.
Impressiveness factor: It’s eco-conscious and unique. Imagine telling people your counters used to be part of a 100-year-old barn. They’ll be obsessed. Reclaimed wood adds warmth and history to a space—something you can’t get with new materials. Plus, it’s durable—old wood is usually harder and sturdier than new wood. My uncle sets hot skillets on his counters all the time, and they don’t even scratch.
11. Penny Countertops: Unique and Unexpected
Want counters that are a conversation starter? Like, every guest walks in, sees them, and goes, “Wait, are those… pennies?” Penny counters are it. Covering your counters in pennies creates a shiny, metallic surface that’s surprisingly warm and inviting. It’s quirky, fun, and totally one-of-a-kind.
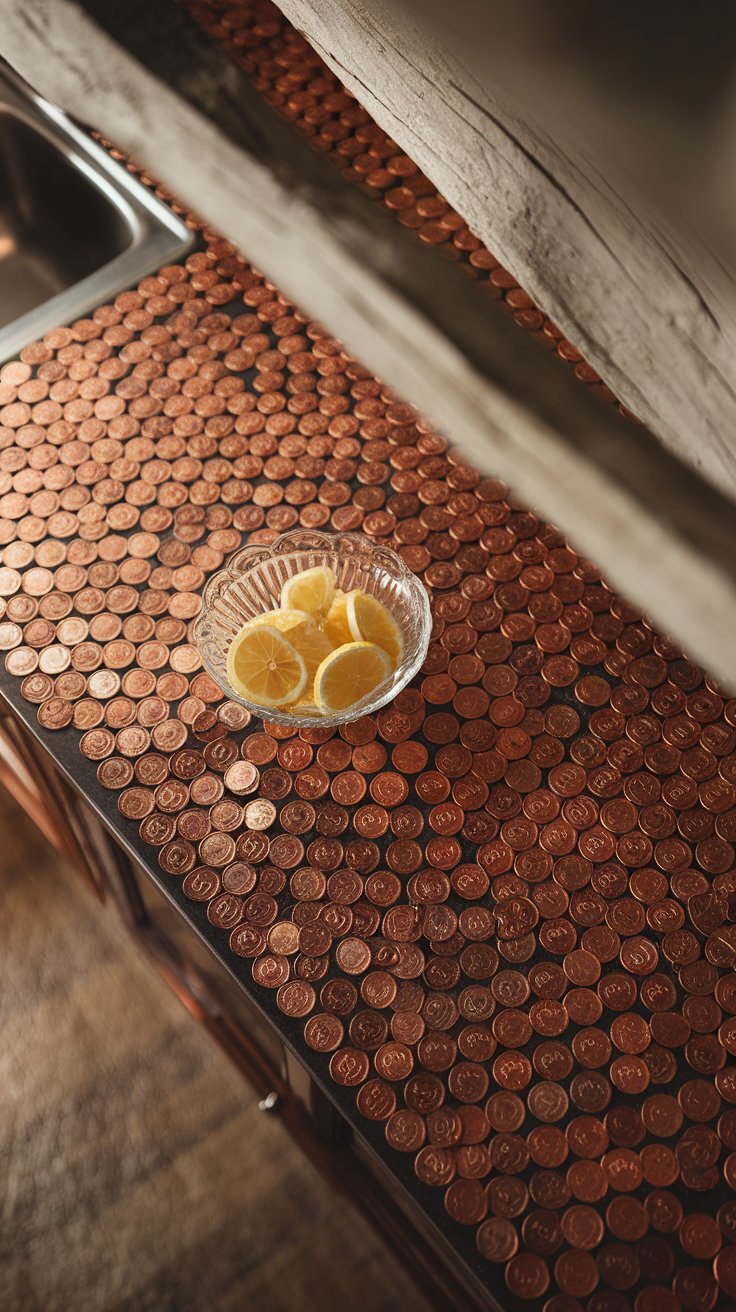
Why it’s easy: The process is simple—just glue pennies to your counters (use a strong adhesive, like E6000), let them dry (give it a day or two—don’t rush), grout the gaps between them (to make it smooth), and seal with epoxy resin (to protect the pennies from scratches and spills). It’s time-consuming—you’ll need a lot of pennies (start saving now! My friend saved pennies for six months—her couch cushions were full of them). But it’s not hard. My friend did this for her bar, and it took her a few weekends. She said the hardest part was counting all the pennies.
Impressiveness factor: People will stop and stare. The copper pennies shimmer in the light, and the pattern (you can arrange them in circles, lines, or random) adds texture. My friend arranged hers in a spiral, and it looks like a work of art. It’s a fun way to add personality to your kitchen—no one else will have counters like yours. Plus, it’s durable—epoxy sealant protects the pennies from scratches and spills. She spilled beer on it once, and it wiped right off.
12. Glass Tile Sparkle: Bright and Reflective
Glass tile counters are like adding a little sunshine to your kitchen. The reflective surface bounces light around the room, making small or dark kitchens feel bigger and brighter. And they’re so pretty—shiny, modern, and a little glamorous. I did this in my bathroom once, and I wished I’d done it in my kitchen too.
Why it’s easy: Installing glass tile is just like installing ceramic tile. Use thin-set mortar to stick them to a cement board base, grout the seams (use a grout float—easy to use), and seal. Glass tiles are easy to cut (you can use a tile cutter or even a glass cutter—just be careful!), so you don’t need special tools. I used a tile cutter from Home Depot—cost me $20—and it worked perfectly. My bathroom tiles look like they’re glowing, even on cloudy days.
Impressiveness factor: They’re sleek and modern. The sparkle of the glass adds a touch of luxury—like something you’d see in a high-end kitchen. And they’re easy to clean—non-porous, so spills wipe right off. If you love a bright, airy kitchen, this is the one for you. My bathroom tiles still look new a year later—no scratches, no stains. I keep telling myself I’ll do my kitchen next.
13. Stone Veneer Elegance: Rustic and Textured
Love the look of natural stone but don’t want to pay for it (or carry heavy slabs—have you seen how heavy granite is? I tried to lift a sample once and almost dropped it)? Stone veneer is the answer. It’s thin slices of real stone—light, easy to install, and it looks just like the real thing. My sister used this, and her in-laws still ask if it’s real stone.
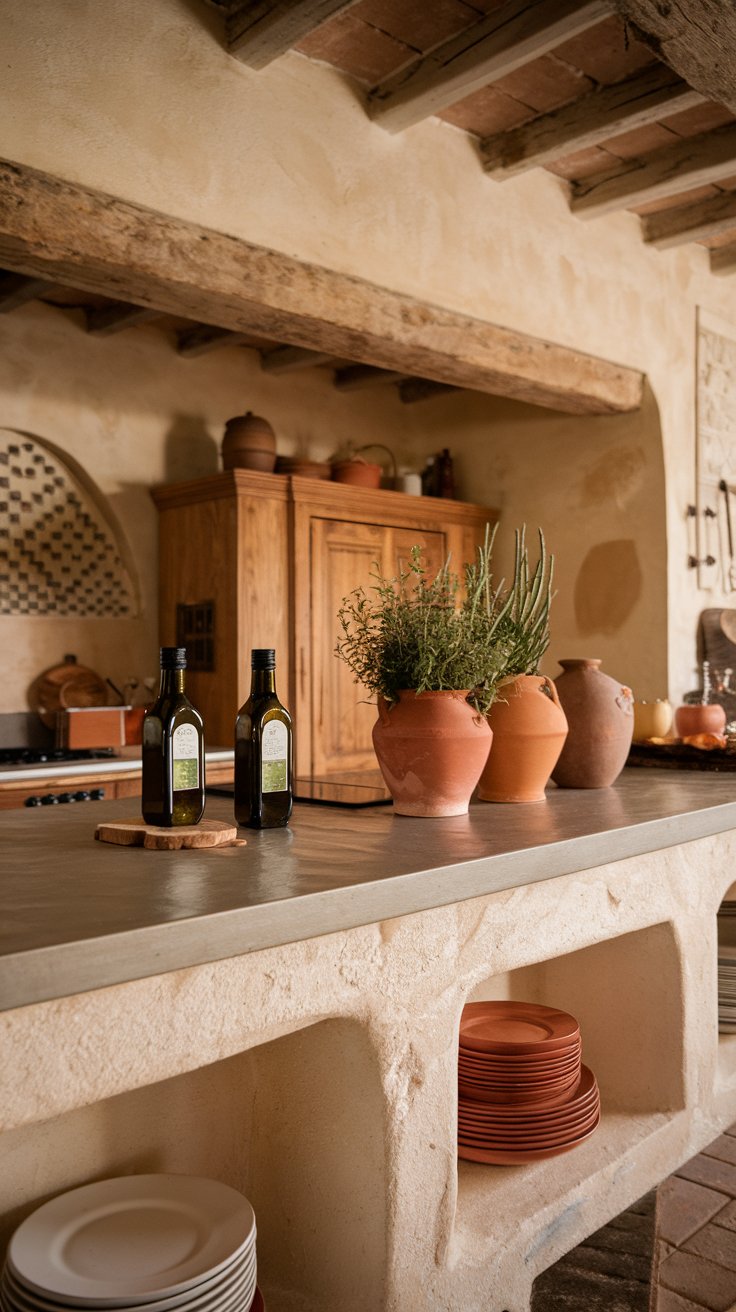
Why it’s easy: Stone veneer is lightweight—you can hold a piece in one hand. Just glue it to a plywood or cement board base with mortar (follow the directions—don’t use too much), let it dry, and seal it. No heavy lifting, no expensive tools. It’s like putting together a puzzle—just fit the pieces together so the seams don’t line up. My sister did this by herself—she’s 5’2” and couldn’t lift a full stone slab to save her life. She finished it in a weekend.
Impressiveness factor: It looks authentic. The texture, the color variations—you’d never know it’s not a solid stone slab. My sister’s veneer looks like travertine, and it adds a rustic, luxurious vibe to her kitchen—perfect for that Tuscan or mountain-home feel. And it’s durable—real stone lasts forever. She’s had it for two years, and it still looks like new. Her in-laws still can’t believe she did it herself.
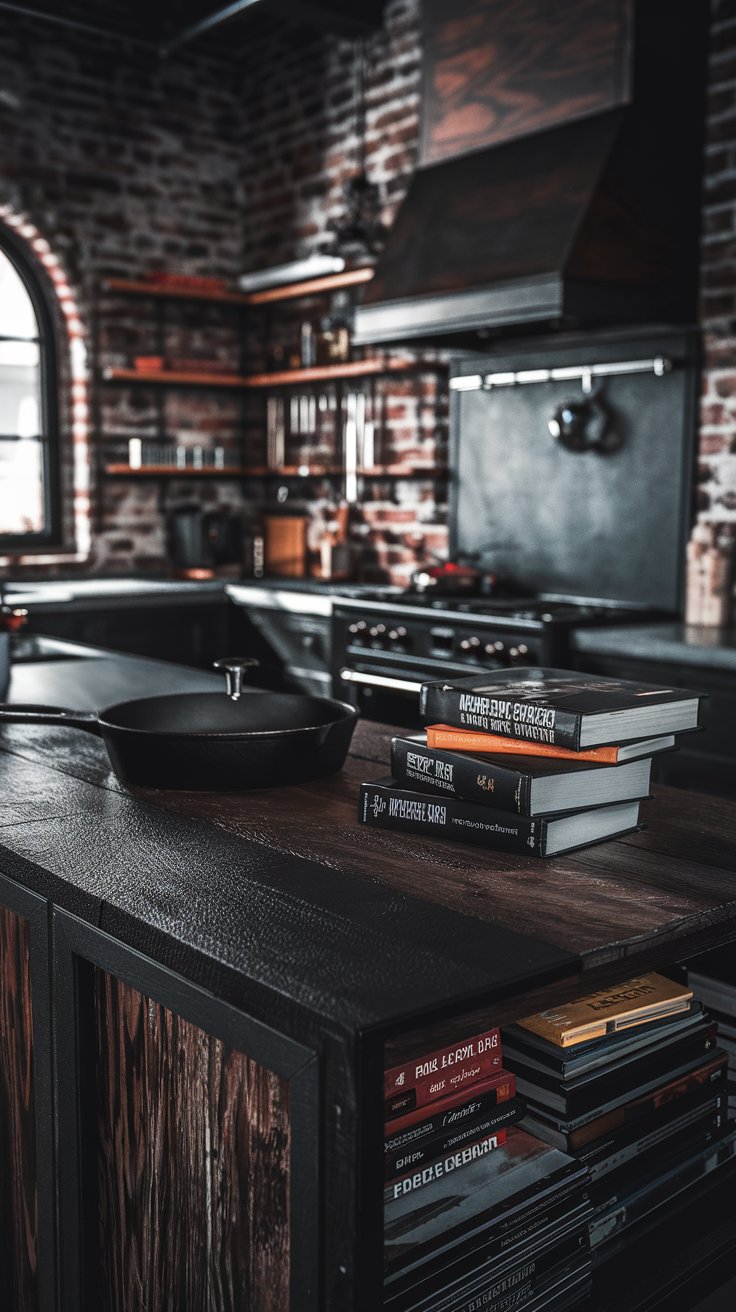
14. Stainless Steel (Look-Alike) Chic: Industrial Edge
Want that sleek, industrial stainless steel look—like the counters in a fancy restaurant—but don’t want to pay for custom counters (they’re so expensive)? Specialty paint can get you there. It’s a budget-friendly way to mimic that modern, professional kitchen vibe. My brother did this, and I had to touch the counter to make sure it wasn’t real.
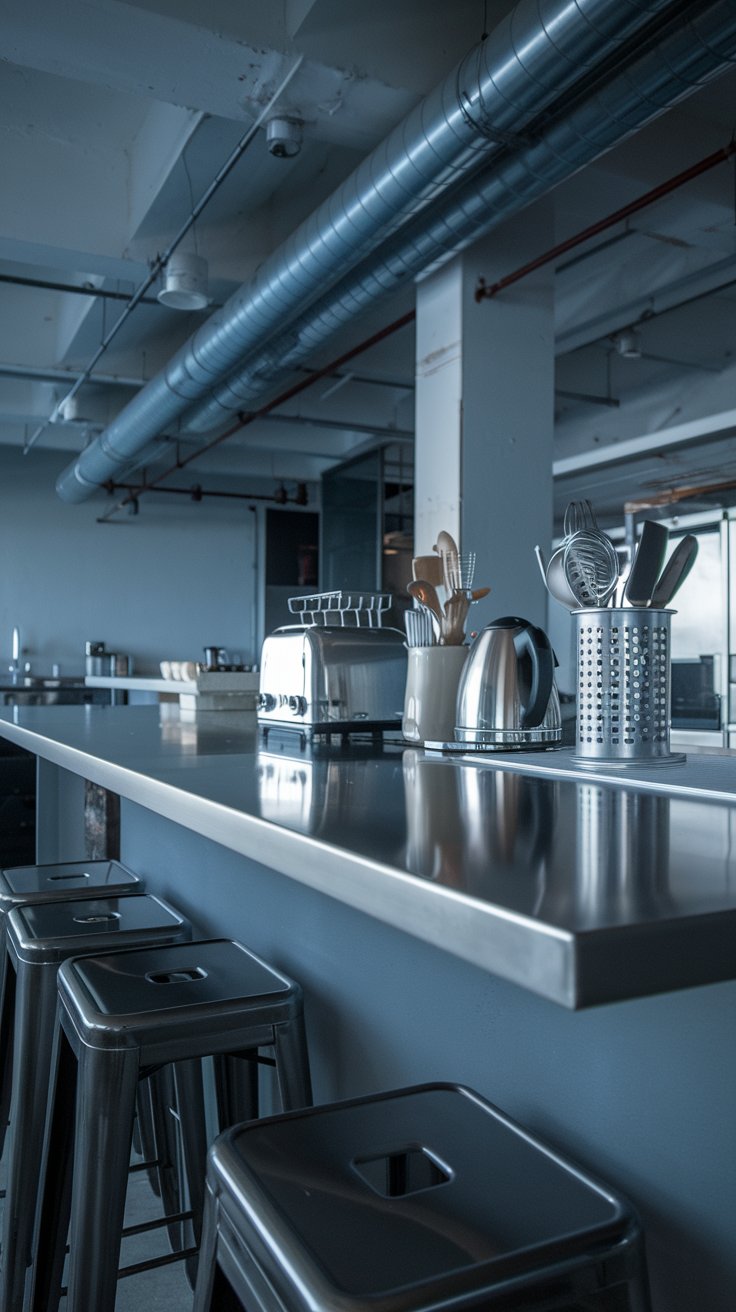
Why it’s easy: The process is simple. Clean your counters (get rid of all that grease—stainless steel paint hates grease), sand them (to help the paint stick), apply a primer (use a metal primer—trust me), then paint with stainless steel effect paint. Add a few coats (let each dry completely—don’t rush!), then seal with a topcoat. My brother did this in his apartment, and he’s not crafty. He once tried to build a bookshelf and it collapsed. But his stainless steel counters? They look amazing.
Impressiveness factor: It looks surprisingly real. The paint has a metallic finish that mimics the shine of stainless steel. My brother’s counters match his stainless steel fridge and oven—total cohesive look. It’s perfect if you love that modern, industrial look but don’t want to spend thousands. Plus, it’s easy to touch up if it gets scratched. His dog jumped on the counter once (don’t tell him I said that), and he just painted over the scratch. Good as new.
15. Solid Surface (Corian-Like) DIY: Seamless and Smooth
Solid surface counters (like Corian) are known for their smooth, seamless look—no seams, no grout lines. They’re modern and easy to clean, but professional installation is expensive. Enter DIY solid surface kits—they let you get that same look without the pro price tag. My friend used one, and I thought she’d hired someone.
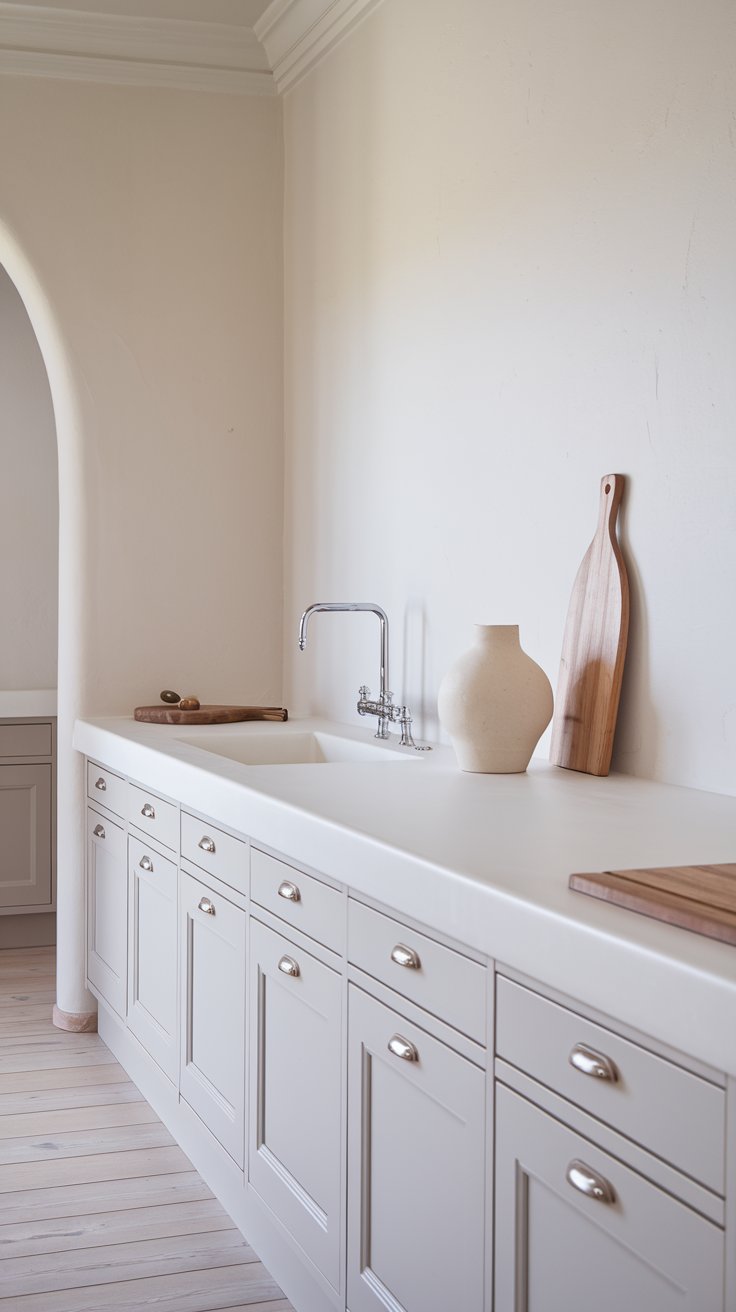
Why it’s easy: The kits come with everything you need—bonding agents, the solid surface material, and step-by-step instructions. You sand your existing counters (to make them smooth), apply the bonding agent (like glue for counters), then pour or spread the solid surface material. It’s a bit more work than painting—you have to be careful with the application—but it’s doable. Just take your time—rushing will lead to mistakes. My friend is a perfectionist, so she took her time, and it turned out flawless.
Impressiveness factor: The finish is seamless and smooth—just like the real thing. It’s non-porous, so it’s easy to clean—wipe it down with a damp cloth, and you’re done. Perfect for a Scandinavian-style kitchen or anyone who loves a minimalist look. It’s a bit more of an investment than paint or contact paper (my friend spent $300), but it’s still way cheaper than professional solid surface counters (which would have been $2k+). She still says it’s the best DIY project she’s ever done.
Ready to Transform Your Kitchen?
So there you have it—15 DIY countertop ideas that are easy, affordable, and totally stunning. Whether you’re into modern concrete, cozy butcher block, or budget-friendly contact paper, there’s something here for you.
Don’t let the “DIY” label scare you. You don’t need to be a pro. You just need a little time, some basic supplies, and the courage to try. I’ve seen people with zero DIY experience turn their sad counters into something amazing—my mom, my cousin, my brother… none of them are “crafty,” but they did it.
And when you’re done? You’ll walk into your kitchen, glance at those counters, and think, “I made this.” That feeling? Priceless. Way better than any fancy countertop you could buy.
Happy DIY-ing!
上一篇
12 Heart Art Ideas That Will Transform Your Space into a Love Sanctuary
下一篇
12 Spring Pink Nails Trends That Will Make You Feel Like a Flower (Don't Miss #10!)
Loading...